Whether you want to enhance your gaming experience or productivity, there’s no question that a portable laptop monitor can improve your overall computing experience. Setting it up isn’t necessarily intuitive, though, so here we’re going to break down how to connect a portable monitor to a laptop across PC and Mac systems.
Setting Up a Portable Monitor For a Laptop
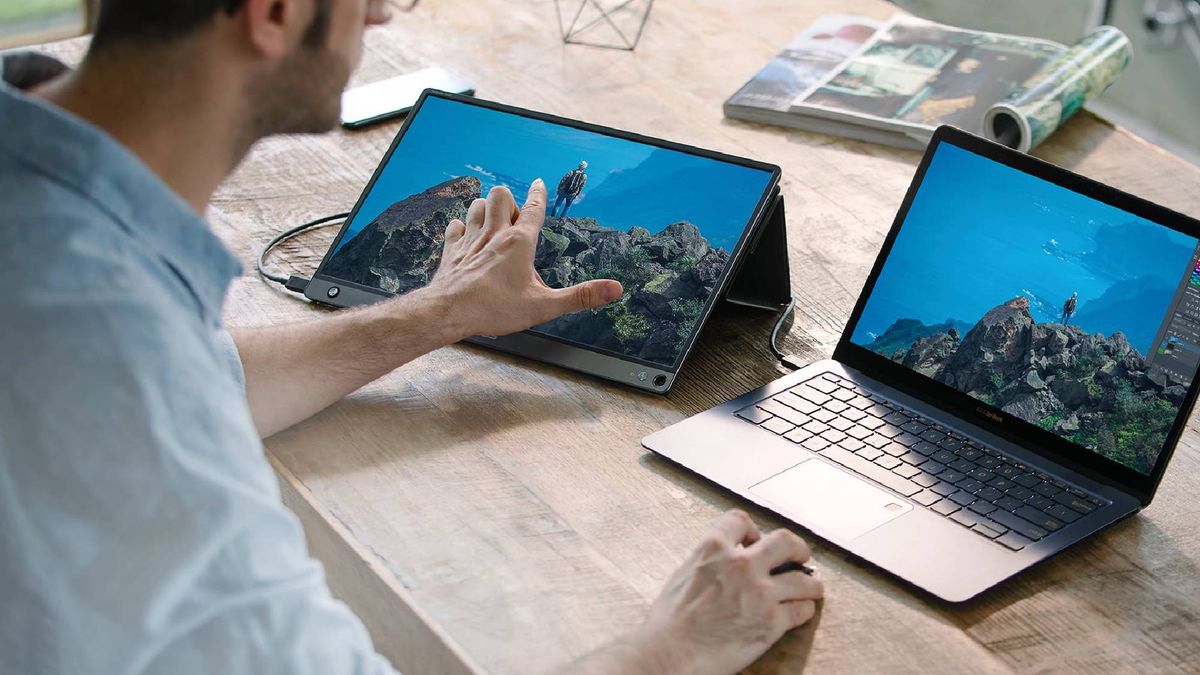
A portable monitor is a high-definition screen that can be connected to your PC, offering improved screen clarity and enhancing your overall productivity. What sets it apart from standard screens is its remarkable portability. Unlike conventional PC screens, which often require a dedicated power source, portable monitors draw their power directly from your PC.
Furthermore, portable monitors feature a sleek and modern design. Many come equipped with convenient flip-out stands, and some even offer touchscreen functionality. This lightweight and compact design allows you to effortlessly carry it in your laptop bag, making it a practical choice for on-the-go professionals.
What You Need to Connect a Portable External Monitor
To get started, you’ll obviously need to ensure you have the right equipment. You’ll need:
- Your laptop computer
- A connecting cable (e.g., HDMI, DisplayPort, USB-C)
- The portable external monitor
- An adapter or docking station (if needed)
How to Set Up a Monitor to a Laptop (PC)
Connecting your portable monitor to your laptop is a straightforward process:
Step 1: Determine Your Laptop’s Video Output Before connecting the portable monitor, identify the video output ports on your laptop. These ports vary depending on your laptop’s model and age, such as HDMI, DisplayPort, USB-C, VGA, or DVI.
Step 2: Determine the Portable Monitor’s Video Input Check the video input ports on your portable monitor. Most portable monitors have HDMI or DisplayPort inputs, with some offering USB-C, VGA, or DVI. Ensure compatibility with your laptop’s output.
Step 3: Confirm Matching Connections Ensure that both your laptop and portable monitor have matching video connection ports, such as HDMI or USB-C. If not, proceed to the next step.
Step 4: Use an Adapter Cable If your laptop and portable monitor have different connection types, use adapter cables to bridge the gap. Common adapters include Mini DisplayPort-to-DisplayPort, VGA-to-HDMI, DVI-to-HDMI, HDMI-to-DisplayPort, and USB-C-to-HDMI.
Step 5: Power Up and Connect
- Plug your portable monitor into an outlet and turn it on.
- Connect the portable monitor to your laptop using the appropriate cable or adapter.
- Press the required keyboard shortcuts (e.g., Fn key + F3) to activate the monitor. Refer to your laptop’s manual for the correct key combination.
Step 6: Adjust Display Settings
- By default, your laptop should extend your display, allowing you to drag and drop windows and applications between both screens.
- Customize your display settings:
- On Windows (Windows 8 or 10), press Windows + P to select your display mode (e.g., extend, duplicate, second screen only).
- To rearrange primary and secondary screens, go to “Settings” > “Display,” identify your displays, drag to rearrange as needed, and press “Apply.”
By following these steps and understanding the benefits of a dual-screen laptop setup, you can easily connect a portable monitor to your laptop, regardless of whether you use a PC, Mac, or laptop, and enjoy expanded screen real estate for increased productivity.
Connecting a Portable Monitor to a Mac
Before connecting your Mac to an external monitor, it’s essential to verify that your Mac is compatible with the specific monitor you intend to use. Compatibility can vary between Macbook models and portable monitors. To determine compatibility and get started, follow these steps:
- Click on the Apple logo in the top-left corner of your menu bar.
- Select “About This Mac.”
- Click on the “Support” tab, and then navigate to “Specifications.”
- In the new window that opens, locate the section labeled “Video Support or Graphics.” This section will provide information about the types of screens your Mac system supports.
If your Mac is compatible with the monitor you have, you can proceed with the connection process. However, if there are compatibility issues, consider using adapters or connectors to establish a successful connection.
To connect your Mac to an external monitor:
- Plug your external display into a power source and connect it to your Mac. Note that your Mac may not appear on the external monitor until you’ve logged in.
- Open the “System Settings” or “System Preferences” on your Mac.
- Access the “Displays” section within System Settings/System Preferences.
- In the “Displays” settings, locate the “Arrangement” tab.
- Within the “Arrangement” tab, you’ll find a checkbox in the bottom-left corner labeled “Mirror Screens.” Ensure that this checkbox is unchecked to extend your displays rather than mirroring them.
- To arrange your displays to match your real-life setup, you can drag the secondary display to your preferred position. Your Mac will always serve as the primary monitor, indicated by a blue box on the left with a white tab at the top.
- If you wish to change which display serves as the primary one, return to the Arrangement tab. Click and hold the white tab above the primary display box and move it onto the other screen as desired.
Why a Dual-Screen Laptop Setup Is Good
Before diving into the setup process, it’s worth noting the advantages of using a dual-screen laptop setup. A second monitor offers:
- More screen real estate, allowing you to see and do more at once.
- Enhanced productivity for professionals, students, and general users.
- Improved graphics and design work with a broader scope of your project visible.
- Efficient multitasking by referencing information on one screen while working on another project.
- Real-time data monitoring alongside your primary work on the second screen.
- Expanded gaming experience with a larger visual field for better control.
Best Portable Laptop Monitors
Here’s a list of what we consider the best portable laptop monitors in 2024:
- ViewSonic VG1655
- AOC I1601FWUX USB-C Portable Monitor
- ViewSonic ColorPro VP16-OLED Portable Monitor
- Asus ROG Strix XG16AHPE
- NexiGo NG17FGQ 17.3-Inch 300Hz Portable Monitor
- Asus ZenScreen Touch (MB16AMT)
- Lenovo ThinkVision M14d
- Ricoh Portable Monitor 150BW
- Acer SpatialLabs View ASV15-1B
- Espresso Display (15 inch)
FAQ & Troubleshooting
Why won’t my portable monitor connect to my laptop?
If your portable monitor is not connecting to the laptop, it may be due to various reasons, such as a faulty dock or adapters.
In order to solve the issue, you should ensure that the cables are connected securely to the monitor.
If it does not solve the issue, then you must check the adapters and docks to ensure they are not faulty or malfunctioned.
Can HDMI power a portable monitor?
Usually, the HDMI transfers the audio data, and it does not transfer the power through it. You should need a cable to transfer power to the external monitor.
How do I connect my HP portable monitor to my laptop?
In order to connect the HP portable monitor to your laptop, follow these steps:
- Determine your laptop video output
- Now, determine your monitor video output
- Then, connect the laptop to the monitor using a compatible cable
- Now ensure that the connection between the laptop and monitor
So there you have it. Connecting your portable monitor to a laptop is not as complicated as it sounds. Connecting the monitor to a laptop also adds productivity to your desktop setup.
All you need is to select a compatible portable monitor and laptop to connect them.
After making a connection, go to the display settings, then choose the primary and secondary screens according to your preference.